
Last updated September 24, 2026
Attic Insulation Maintenance Checklist for Cedar Park Homeowners
Blown cellulose settles roughly 20 percent in the first two years after installation. If your installer didn’t overshoot the settled depth target, you may already be under the R-38 code minimum without knowing it. In Cedar Park, where summer attic temperatures routinely hit 140°F and winter cold snaps dip below freezing, that gap between installed and actual performance translates directly into higher electric bills, uneven room temperatures, and unnecessary strain on your HVAC system. The Complete Guide to Insulation in Cedar Park gives you a complete annual inspection protocol you can run with a flashlight, a tape measure, and 45 minutes on a mild morning. No need to pull up batts or crawl through joist bays. You’ll learn the five-point depth check, how to read moisture and pest damage signatures, and how to spot the duct bypass problem that visual inspection alone will miss.
Quick Answer
Attic insulation maintenance in Cedar Park means checking blown insulation depth at five locations annually, looking for moisture staining and pest compression patterns specific to Central Texas humidity, and feeling for warm air movement that signals duct bypass. Most homeowners can complete this inspection in under an hour. If depth reads below 12 inches at any point, or if you find dark staining, tunneling, or warm air bleeding through insulation, it’s time for professional evaluation.
Table of Contents
- Why Attic Insulation Degrades in Cedar Park
- The Five-Point Depth Check
- Reading Moisture Damage: Cedar Park’s Humidity Signature
- Pest Compression vs. Normal Settling
- The Duct-Bypass Check You Can’t See
- Your One-Page Annual Log Template
- Common Mistakes to Avoid
- When to Call a Professional
- Frequently Asked Questions
Why Attic Insulation Degrades in Cedar Park
Attic insulation here faces a specific stress profile that northern climates don’t replicate. Cedar Park sits in the Texas Hill Country transition zone, which means we get the full summer solar load of Central Texas plus sharper winter temperature swings than Houston or San Antonio. Your attic cycles between 140°F afternoons in July and below-freezing January mornings. That thermal expansion and contraction fatigues insulation materials over time, particularly at penetration points where ducts, wiring, and fixtures pass through the thermal boundary.
The degradation follows a predictable sequence we’ve documented across thousands of Topside Attic Insulation Cedar Park home inspections since 2016:
- Moisture intrusion - usually from bathroom vents terminated in attic space, ridge vent gaps during driving rain, or ice damming on north-facing slopes during rare freeze events. Moisture reduces R-value and begins compression.
- Pest compression - squirrels, roof rats, and mice establish travel paths through insulation, compressing it to 10-20 percent of original loft. Cedar Park’s mature oak canopy in neighborhoods like Forest Oaks and Buttercup Creek provides abundant roof access.
- HVAC duct bypass - conditioned air leaks from poorly sealed plenums or flex duct connections, warming the insulation surface from below. This creates a thermal signature but no visible damage, so it persists for years undetected.
Each stage has distinct visual and tactile indicators. The checklist below teaches you to read them.
Local code context matters here. Cedar Park adopted the 2021 International Energy Conservation Code with local amendments, which specifies R-38 minimum for attic insulation in new construction and R-49 for high-efficiency pathways. But code minimums assume properly air-sealed attics. An unsealed attic at R-38 performs closer to R-25 in practice because convective airflow through gaps bypasses the insulation entirely. That’s why our Attic Insulation in Cedar Park protocol always sequences air sealing before any insulation work.
The Five-Point Depth Check
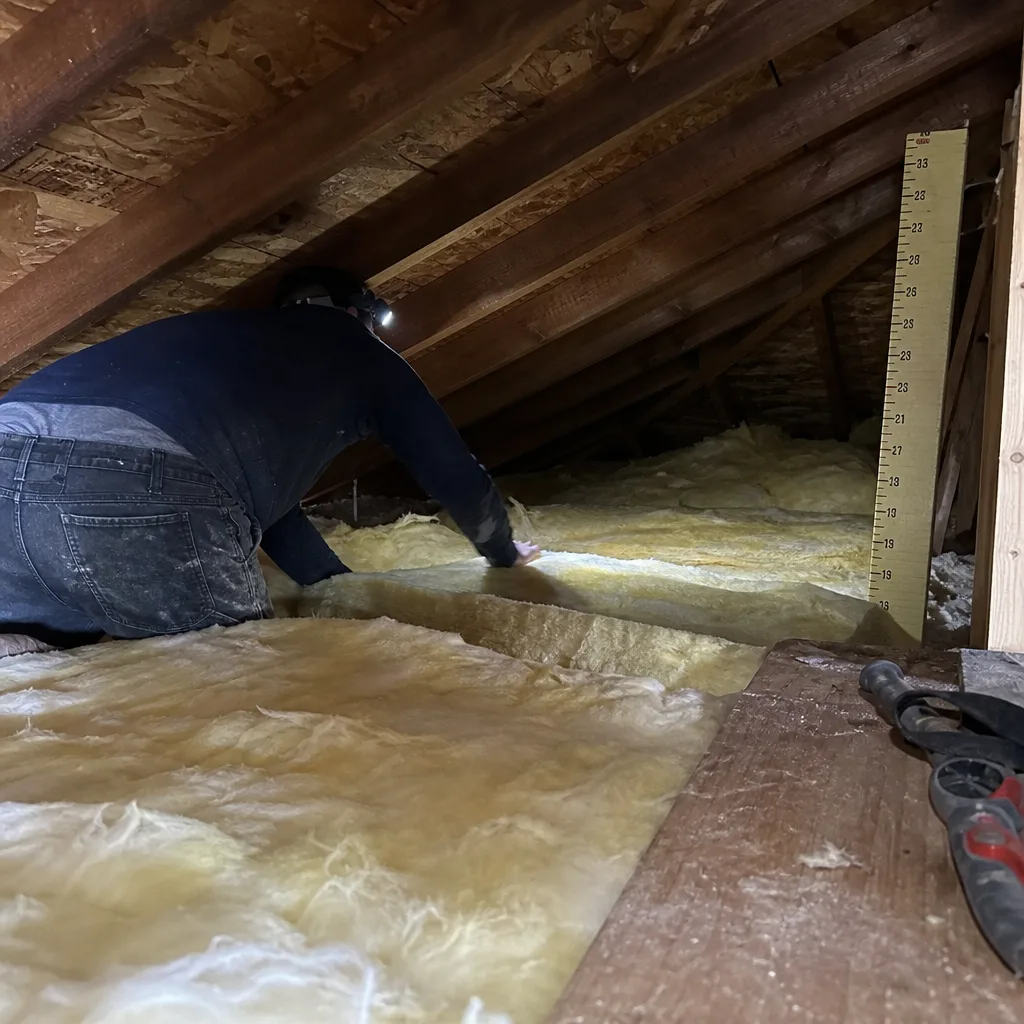
This is the core of your annual inspection. You need a tape measure with a stiff blade or a purpose-built insulation depth ruler, a flashlight, and a camera phone. Pick a morning when outdoor temperature is between 50°F and 75°F so you’re not fighting extreme attic heat or cold.
Before you start, know your target. Blown cellulose settles from its installed depth; reputable installers in Cedar Park should have documented both numbers. If you only know the installed depth, subtract 20 percent for cellulose installed more than two years ago, 10-15 percent for fiberglass. The settled depth target for R-38 in cellulose is approximately 12 inches; for R-49, approximately 15 inches. These numbers vary slightly by manufacturer density, so check your original documentation if available.
Measure at these five locations, recording each to the nearest half-inch:
- Center field - the open area midway between the ridge and the eave, avoiding any joist or truss member. This is your baseline reading. Pass: within 1 inch of target depth. Fail: more than 2 inches below target, or visible floor joists showing through.
- Eave baffles - where the attic floor meets the exterior wall top plate, within 24 inches of the eave edge. Wind washing in Cedar Park’s spring storm season can redistribute insulation away from edges. Pass: minimum 10 inches, with baffles visible and intact. Fail: exposed drywall or top plate, compressed or missing baffles.
- Hatch perimeter - within 12 inches of the attic access hatch in all directions. This area gets disturbed by foot traffic and often shows settlement gaps. Pass: within 1 inch of center field reading. Fail: compacted path, visible framing, or more than 2 inches below target.
- Above HVAC plenum - directly above or adjacent to the main supply plenum where it exits the air handler. This is a high-traffic zone for technicians and a common leak point. Pass: full target depth with no compression from ductwork contact. Fail: flattened insulation, visible duct seams, or insulation pushed aside for access.
- Around recessed lights - within 6 inches of any IC-rated or non-IC can light housing. Heat from poorly sealed fixtures drives localized settling. Pass: minimum 10 inches, no scorching or discoloration. Fail: blackened insulation, less than 8 inches, or insulation contacting non-IC fixtures.
Photograph each location with the tape measure visible. These photos become your year-over-year comparison record. If any location fails, mark it for follow-up. One failure point typically indicates localized repair; three or more suggests whole-attic re-evaluation.
In Cedar Park’s newer construction, particularly homes built 2015-2020 in Ranch at Brushy Creek and Cypress Canyon, we’ve found that builder-grade fiberglass batt installations often fail at the eave baffles due to improper vent chute installation. The batt gets compressed against the top plate instead of extending fully to the exterior wall. Your depth check will catch this as a sudden drop from center field to eave measurement.
Reading Moisture Damage: Cedar Park’s Humidity Signature
Moisture damage in Cedar Park attics produces specific visual patterns that differ from Gulf Coast mold blooms or desert Southwest dry rot. Our humidity profile - sustained 60-80 percent relative humidity from May through October, punctuated by sudden storm events - creates distinctive signatures you can learn to read.
Bring your flashlight and examine insulation surfaces for these three patterns:
- Dark staining lines - linear or branching dark gray to black marks following rafter bays or framing members. These indicate chronic condensation on cold surfaces, usually from air leakage at the ceiling plane. In Cedar Park, we see this most often on north-facing roof slopes where surface temperatures stay below dew point longer. The pattern tells you air is moving through the insulation, carrying moisture that deposits on the first cold surface it finds. Source: unsealed top plates, electrical penetrations, or plumbing stack boots.
- Compressed zones with crusting - areas where insulation appears flattened and develops a thin, brittle surface layer. This is dried salts and minerals left after repeated wet-dry cycles. Common above bathrooms with vent fans terminated in attic space rather than ducted to exterior. In Cedar Park’s quick-dry climate, the moisture evaporates between events, leaving the salt crust as evidence. The insulation beneath is permanently compressed and chemically altered.
- Spotty discoloration with feathered edges - irregular patches of darker color with soft, blurred boundaries rather than sharp lines. This pattern indicates intermittent roof leaks, typically from wind-driven rain entering at ridge vents, turbine bases, or damaged shingles. Cedar Park’s spring storm season with 60+ mph straight-line winds is the primary cause. The feathered edge shows moisture wicking through insulation fibers before drying.
Each pattern points to a different repair priority. Dark staining lines mean air sealing. Compressed zones with crusting mean bathroom vent rerouting plus insulation replacement in affected area. Spotty discoloration with feathered edges means roof repair first, then insulation evaluation after confirmed dryness.
One Cedar Park-specific note: homes in older neighborhoods like Buttercup Creek and Cedar Park Center, built 1980s-1990s, often have original bathroom vents dumping directly into attic space. This was code-acceptable at construction but creates the compressed-zone pattern reliably. If your home falls in this age range, check directly above each bathroom for crusting even if you see no other moisture signs.
Pest Compression vs. Normal Settling
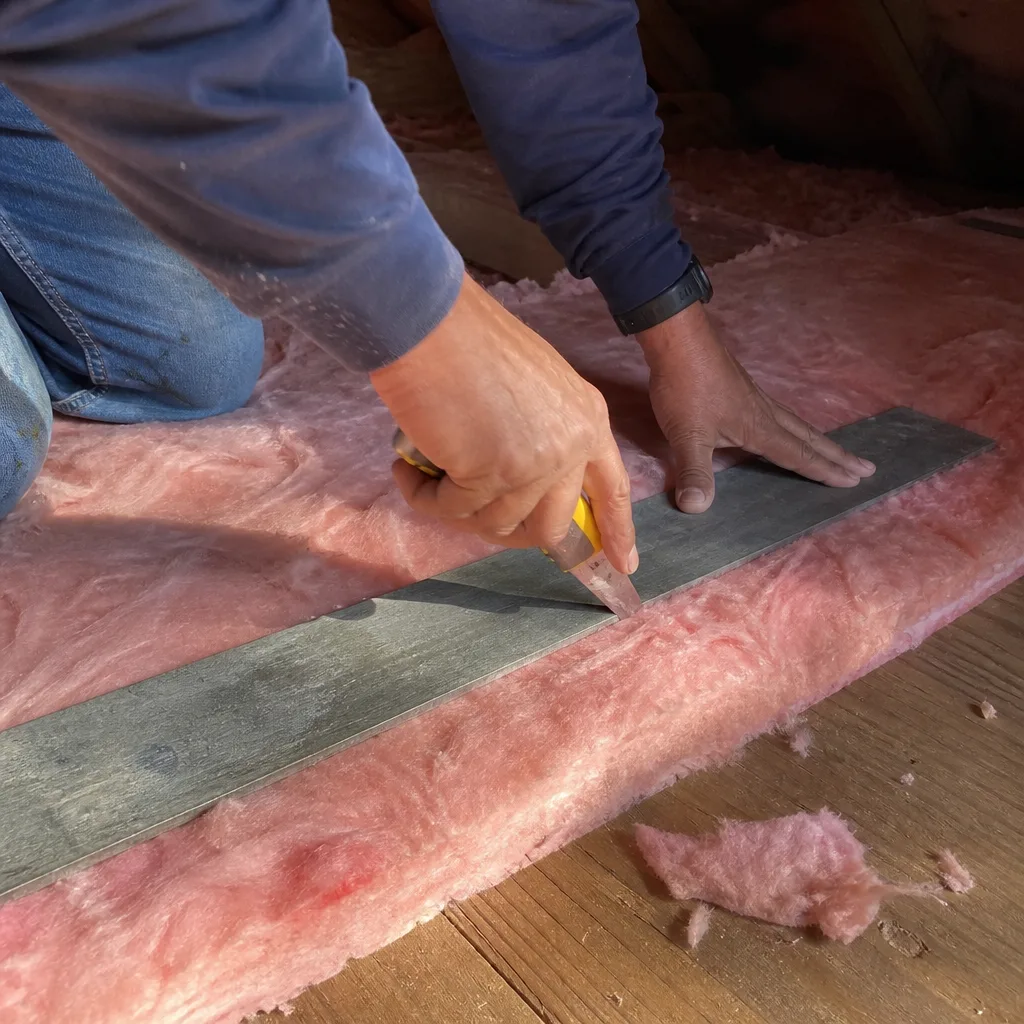
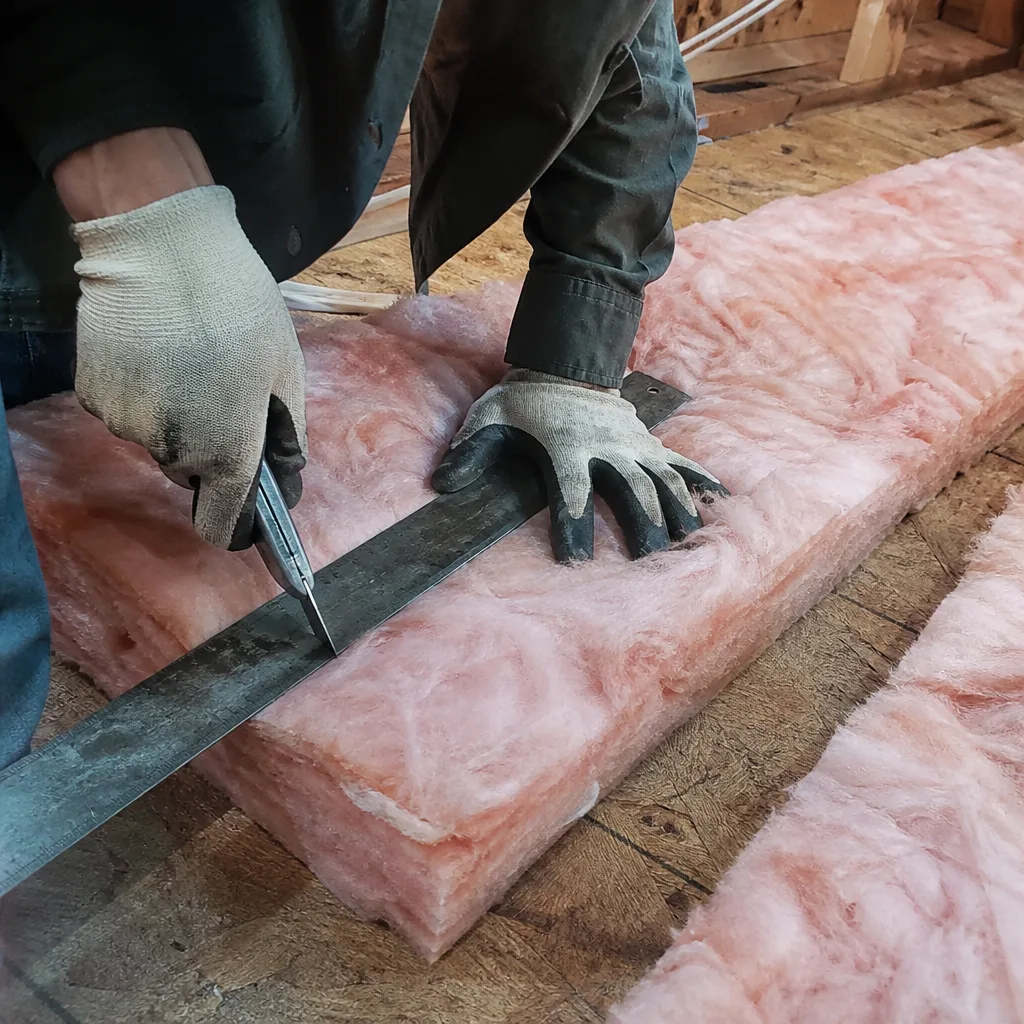
Not all compression is settling. Squirrels, roof rats, and mice create distinct tunnel-and-nest signatures that simple age-related settling doesn’t replicate. Knowing the difference saves you from unnecessary full replacement or, conversely, from topping off damaged material that should be removed.
Normal settling from gravity and thermal cycling produces a uniform, slightly undulating surface. The insulation maintains its fibrous or granular texture; you can fluff it with gentle disturbance. Depth reduces evenly across broad areas, not in isolated patches.
Pest compression looks different in three specific ways:
- Tunnel architecture - Squirrels and rats create defined runways, 3-6 inches wide, with compacted walls and a smooth, polished appearance from repeated passage. These tunnels often follow joist tops or electrical runs, creating linear pathways through otherwise undisturbed insulation. The tunnel floor may be bare drywall or compressed to less than 1 inch depth.
- Nest cavities - Spherical or irregular hollows, 8-18 inches across, with insulation pushed outward to form a berm. Nests contain collected materials: shredded paper, leaf litter, or stripped insulation fibers. Cedar Park’s live oak leaf drop in March provides abundant nesting material. A nest cavity means active or recent occupation; the compression is total within the cavity.
- Fecal and urine staining - Small, dark pellets (rat) or larger, cylindrical droppings (squirrel) concentrated along tunnel routes. Urine creates yellow-to-brown staining that stiffens insulation fibers. This contamination is a health hazard and requires removal, not just top-off.
Decision rule: Isolated tunneling with no nest cavities and no staining can sometimes be repaired by removing compressed material, sealing entry points, and topping with fresh insulation. Multiple tunnels, any nest cavity, or any fecal/urine staining requires full removal and replacement in affected areas. We’ve handled both scenarios in Cedar Park homes; the key is honest assessment of contamination extent.
Entry points in Cedar Park typically occur at roofline intersections, soffit vents without hardware cloth, and gaps around chimney penetrations. Mature neighborhoods with established tree canopy - Forest Oaks, Anderson Mill West, parts of Ranch at Brushy Creek - see higher activity than newer construction with limited mature trees.
The Duct-Bypass Check You Can’t See
This is the inspection step most homeowners miss, and it’s the one that costs the most in wasted energy. Duct bypass occurs when conditioned air leaks from supply plenums, trunk lines, or flex duct connections into the attic space. The warm or cool air then moves through the insulation layer, creating a thermal bypass that short-circuits your R-value without producing any visible insulation damage.
The check requires timing: run your HVAC system for 15 minutes to reach steady state, then enter the attic with bare hands or thin gloves. You’re feeling for air movement, not temperature.
- Locate your main supply plenum where it exits the air handler. Move your hand slowly across the insulation surface within 12 inches of the plenum. You should feel no discernible airflow. Any breeze, however slight, indicates pressurized air escaping the duct system and moving through insulation.
- Follow each trunk line for 6 feet from the plenum, checking at joints and where flex duct connects to metal fittings. Again, any air movement is a fail.
- Check the return air path, particularly where the return plenum passes through the attic floor. Negative pressure here can pull attic air into the system, but positive pressure leaks from supply sides are more common.
- Note any warm spots on the insulation surface during cooling season, or cool spots during heating. These thermal anomalies indicate air movement paths even when airflow is too slight to feel.
Why this matters for Cedar Park specifically: our cooling-dominated climate means supply duct leakage dumps 55-60°F air into a 140°F attic. The temperature differential drives rapid heat gain into the duct system, forcing your compressor to run longer. A typical home with 15 percent duct leakage in the attic loses 20-30 percent of cooling capacity to this bypass effect. Your insulation can read full depth at every check point and still perform like R-15 because convective airflow is doing what missing insulation would.
The fix is mastic sealing of all duct joints and connections, followed by verification with a duct-blaster test - a pressurization measurement of the duct system independent of the building envelope. We publish before-and-after blower-door numbers on applicable jobs so homeowners can verify the air-sealing result; duct leakage reduction is documented separately when ductwork is accessible.
Your One-Page Annual Log Template
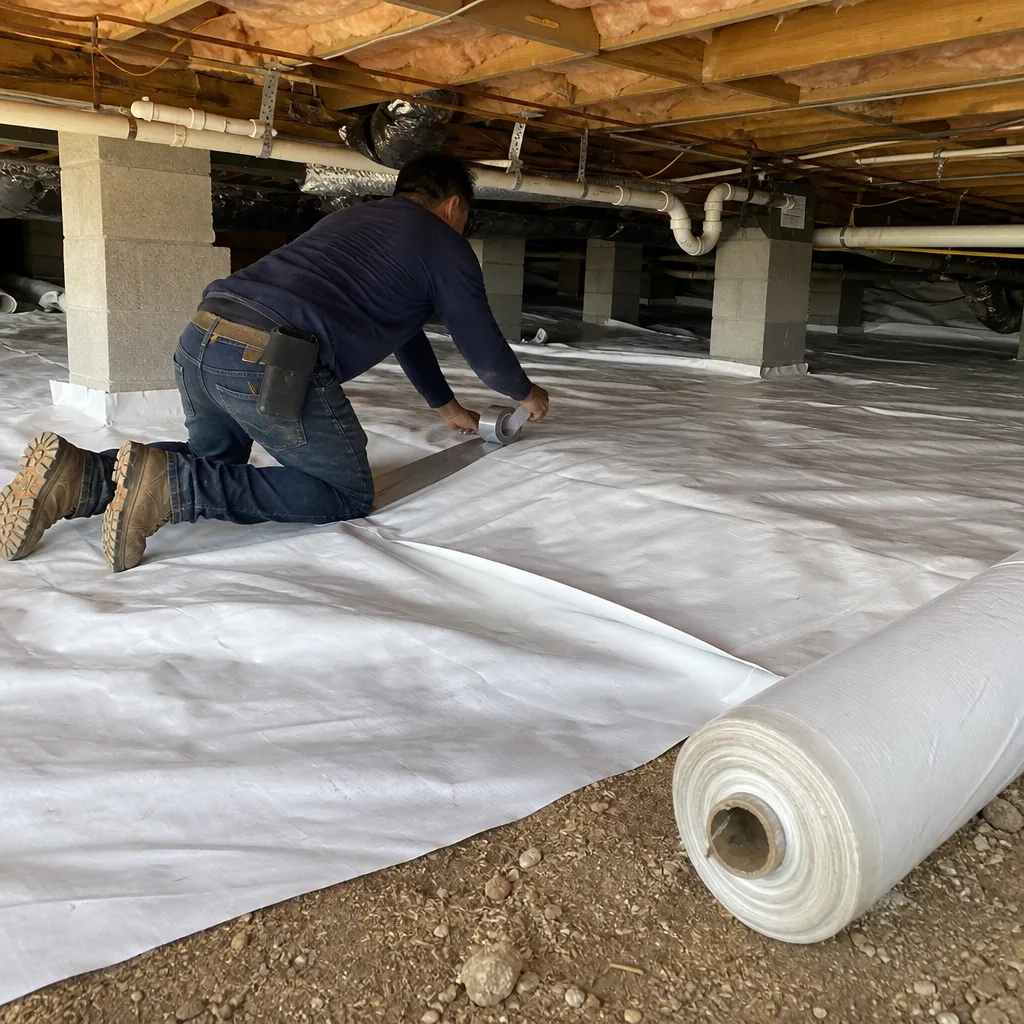
Documentation turns a one-time inspection into a performance history. Without records, you can’t distinguish gradual degradation from sudden failure, and you can’t prove pre-loss condition to an insurance adjuster after a storm event.
Copy this format into a notebook or digital document. Complete it during each annual inspection, ideally in October before heating season or March before cooling season load builds.
| Field | Entry |
|---|---|
| Inspection date | __________ |
| Outdoor temperature | __________ °F |
| Attic temperature | __________ °F |
| Insulation type (cellulose/fiberglass/other) | __________ |
| Target settled depth | __________ inches |
| Center field depth | __________ inches |
| Eave baffle depth (worst location) | __________ inches |
| Hatch perimeter depth | __________ inches |
| Above HVAC plenum depth | __________ inches |
| Recessed light proximity depth | __________ inches |
| Moisture pattern observed (none/line staining/crusting/spotty) | __________ |
| Pest sign observed (none/tunneling/nest/fecal) | __________ |
| Duct bypass detected (Y/N, location) | __________ |
| Photos taken (count) | __________ |
| Action taken / follow-up needed | __________ |
Store photos with date-stamped filenames in a dedicated folder. After three years, you’ll have a trend line that reveals whether your insulation is stable, gradually settling, or showing event-driven damage. This documentation is also what we review during our free second opinion consultations - bring your log and photos, and we can assess whether your situation needs action or continued monitoring.
For Cedar Park homeowners in HOA-governed communities like Cedar Park Center or Buttercup Creek, this log also supports any architectural review requests if insulation work becomes necessary. HOAs typically want documentation of pre-existing condition before approving exterior modifications.
Common Mistakes to Avoid
- Measuring only at the hatch - The access hatch is the most disturbed area in most attics. Depth here is typically 2-4 inches below center field due to foot traffic and settling from the hatch weight. Relying on this single point understates your actual condition or sends you into unnecessary repair.
- Ignoring the eave baffles - In Cedar Park’s wind-exposed locations, particularly homes on the western edge toward Leander with less tree buffering, wind washing pushes insulation inward from eaves. This creates hidden thermal bridges at the exterior wall top plate that your ceiling can feel as cold spots in winter. The baffle check catches this; skipping it misses the most common localized failure.
- Confusing dark insulation with moisture damage - Some cellulose products, including GreenFiber and certain CertainTeed formulations, include dark fibers or borate treatments that read as discoloration to the untrained eye. Look for pattern, not just color. Uniform darkness is likely product characteristics; linear or patchy darkness with texture change indicates moisture.
- DIY air sealing without understanding pressure dynamics - Caulking visible gaps at recessed lights or top plates can actually worsen performance if you don’t account for combustion appliance zones or balanced ventilation. Sealing the wrong leaks creates pressure differentials that pull moisture from new paths. We see this in Cedar Park homes where well-meaning owners sealed attic floor leaks but left ridge vent gaps, creating a reverse stack effect that wetted north-facing insulation.
- Topping off over damaged material - Adding fresh insulation over pest-contaminated or moisture-compromised existing layers traps problems and can violate manufacturer warranty terms for new material. Icynene and Demilec spray foam specifications, for example, require clean, dry substrates. Always remove damaged material before adding new.
- Skipping the duct bypass check because insulation “looks fine” - This is the costliest omission. Duct bypass produces no visual insulation damage. The energy loss is invisible, continuous, and often equals the effect of missing one-third of your insulation. The 15-minute hand-check described above costs nothing and reveals what eyes cannot.
- Inspecting on extreme temperature days - Checking your attic at 2 PM in August creates safety risk and distorts findings. Extreme heat drives moisture out of materials that would read as damp in moderate conditions, and it makes duct leakage harder to feel because attic air is already hot. Pick mild mornings for accurate, safe inspection.
When to Call a Professional
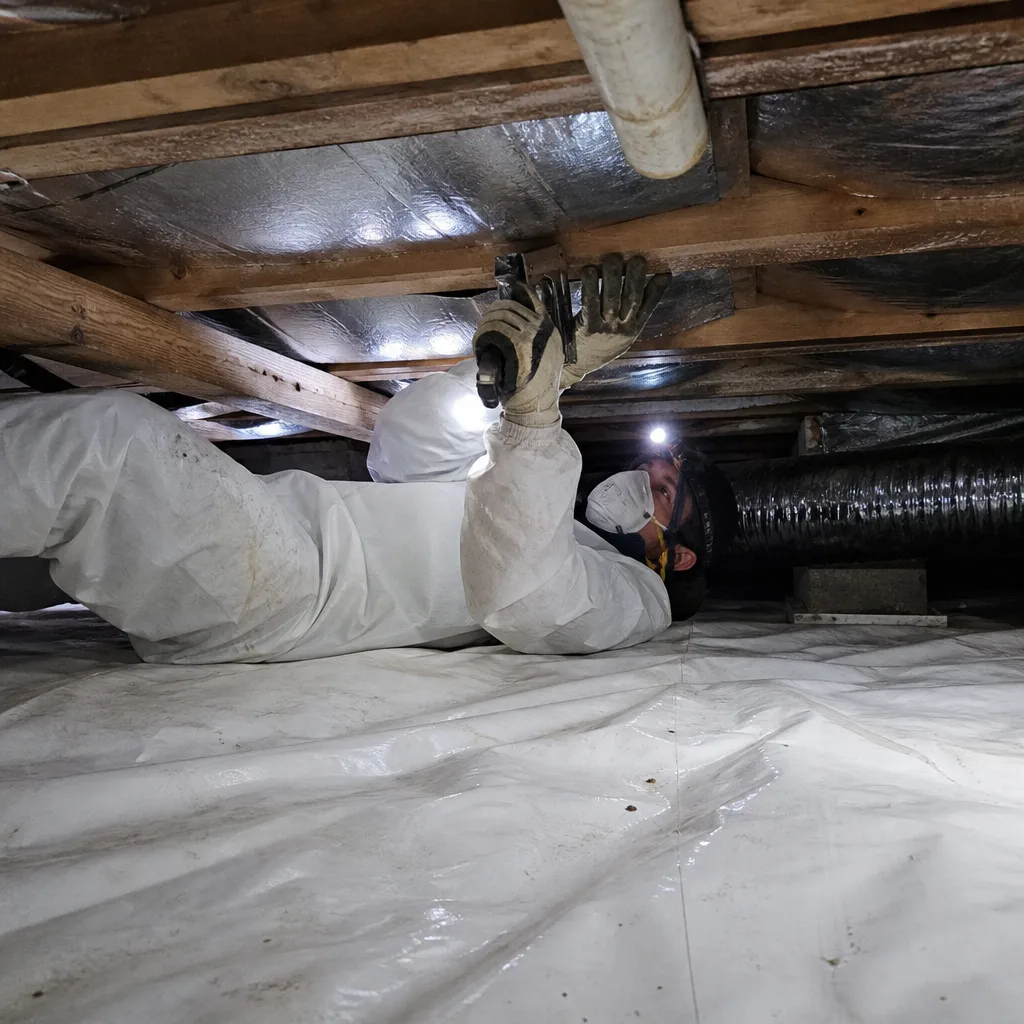
Some conditions exceed homeowner inspection scope. Call for professional evaluation if your log shows any of the following: depth below 10 inches at any point with target of R-38 or higher; any moisture pattern accompanied by moldy or musty odor; pest contamination with fecal matter or urine staining; duct bypass that you can feel beyond 12 inches from plenum; or insulation age exceeding 15 years with no prior maintenance record.
Topside Attic Insulation Cedar Park offers free estimates in Cedar Park - call (737) 245-6428. Every estimate includes a written scope, written price before any work starts, and a documented photo record of conditions found. On applicable jobs, we provide before-and-after blower-door readings so you can verify the air-sealing result in a single figure. Our 365-Day Done Right Promise applies to all completed work.
Frequently Asked Questions
Professional inspection and evaluation typically runs $150-$300 in the Cedar Park market; if remediation is needed, most attic insulation jobs in a home under 2,500 square feet run between $2,800 and $5,400 depending on material choice and air sealing scope. Call (737) 245-6428 for a written estimate - estimates are free, and we provide a Free Second Opinion on any written estimate you’ve already received.
Complete the five-point depth check annually, ideally in October or March before peak heating or cooling loads. Check moisture and pest indicators twice yearly - after spring storm season (May) and before winter cold snaps (November). Duct bypass can be checked once yearly during active cooling.
Both perform well when properly installed and maintained. Cellulose has higher density and better air-flow resistance, which matters in Cedar Park’s wind-exposed locations; fiberglass maintains R-value better if intermittent moisture occurs but requires more careful air sealing to perform to rating. We source both from Johns Manville, Knauf, and GreenFiber, with selection based on specific home conditions rather than one-size-fits-all specification.
Only if existing material is dry, uncontaminated, and not compressed below 50 percent of original depth. In Cedar Park, we find that 40 percent of homes with insulation older than 10 years have at least localized moisture or pest damage that should be removed before topping. Adding new material over damaged old material traps problems and voids manufacturer warranties on the new product.
The most common cause in Cedar Park is duct bypass - conditioned air leaking into attic space and moving through insulation without producing visible damage. Run the hand-check described in this guide during active cooling. If you feel air movement above your supply plenum, you’re likely losing 20-30 percent of cooling capacity to attic losses.
Cedar Park follows the 2021 IECC with local amendments, requiring R-38 minimum for attic insulation in most residential construction and R-49 for high-efficiency compliance paths. However, code minimums assume proper air sealing. An unsealed attic at R-38 performs closer to R-25 in practice. Our Spray Foam Insulation in Cedar Park and other services address both insulation value and air sealing together.
The Bottom Line
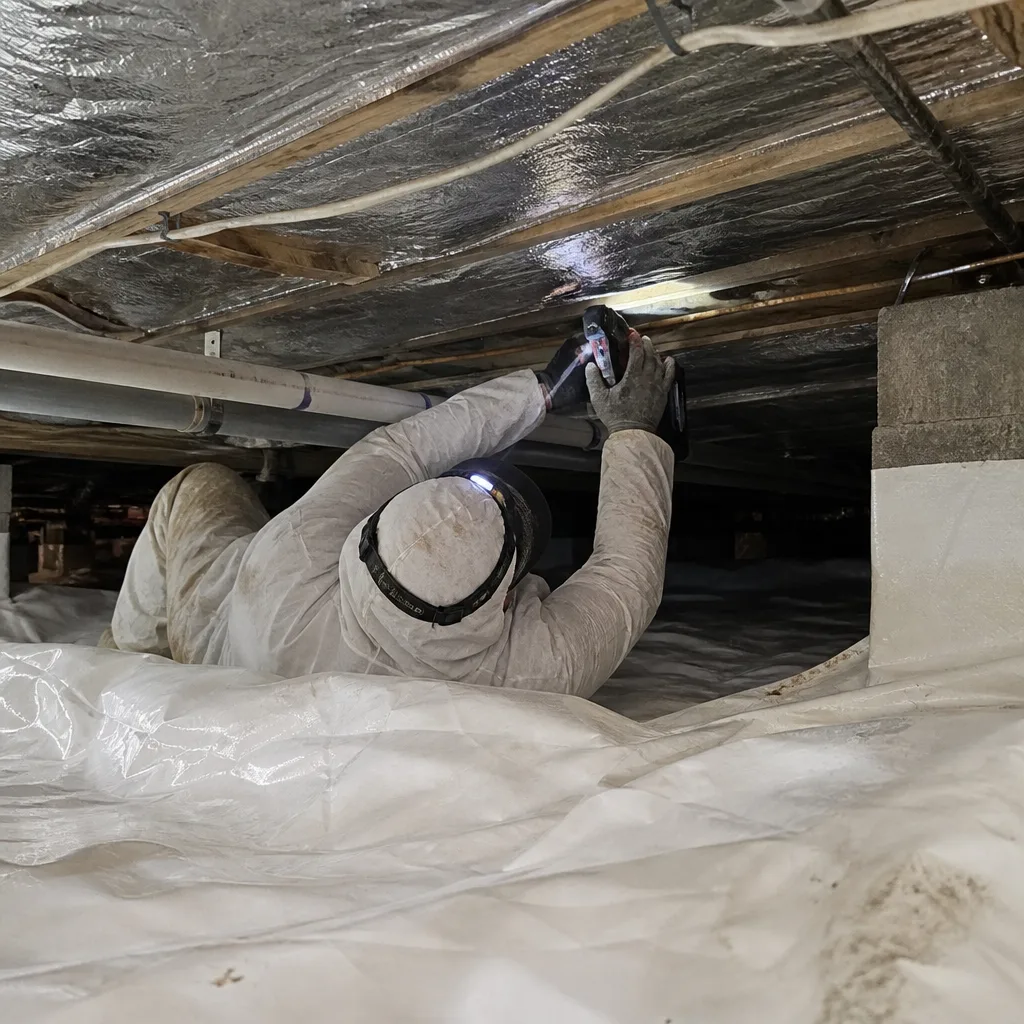
Attic insulation in Cedar Park degrades through a predictable sequence you can detect before it becomes expensive. The five-point depth check, moisture pattern reading, pest compression identification, and duct bypass hand-check form a complete annual protocol that takes under an hour and requires no special tools. Document your findings in the annual log to build a performance history that supports maintenance decisions and insurance claims. Most insulation failures we encounter in Cedar Park homes could have been caught two to three years earlier with this checklist, preventing the compounding damage that makes full replacement necessary. For additional help, explore our more guides & resources.
Topside Attic Insulation Cedar Park has sealed and insulated over 9,000 homes since 2016, every one with a written price before work started and a documented record when the crew left. If your inspection reveals concerns, or if you’d rather have a professional complete the checklist for you, call (737) 245-6428. We answer live 24/7, and every estimate includes our written scope and price under Haven Standard Clause 1.
Written by Wes Okafor, Owner at Topside Attic Insulation Cedar Park, serving Cedar Park since 2016.