
Last updated September 24, 2026
Insulation Warning Signs: A Cedar Park Homeowner’s Reference Guide
That August utility bill spike you’re dreading? It’s the final warning, not the first. In Cedar Park’s climate, where summer highs push past 105°F and winter nights dip below freezing on the slab, insulation failures start silently. By the time your energy costs jump 20 or 30 percent, the damage has usually been building for 12 to 24 months. We’ve walked through thousands of attics in Williamson County since 2016, and the homeowners who save the most money aren’t the ones who react to sticker shock. They’re the ones who learn to read the early signals: the visual clues visible from an attic hatch, the HVAC runtime patterns their thermostat already records, the moisture traces that appear first on slab-on-grade walls. Our Complete Guide to Insulation in Cedar Park works backward from those expensive late symptoms to the early, catchable signs, so you can intervene before the problem compounds.
Quick Answer
The earliest insulation warning signs in Cedar Park homes are visual: compressed or displaced insulation at eave baffles, dark “dirty sock” staining on batt faces from air filtration, and frost shadows on attic sheathing visible in winter photos taken from the hatch. Before your bills rise, your HVAC system will show stress through shortened cooling cycles, more than 16-18 minutes of runtime per cooling hour in mild weather. Moisture signals follow: efflorescence at slab-base walls, living-space humidity above 60% RH during mild seasons, and musty odors that persist after rain. Catching these early reduces remediation scope from full replacement to targeted air sealing and supplementation-see our Attic Insulation Maintenance Checklist for Cedar Park Homeowners for what to check each season.
Table of Contents
- The Late Symptoms: What Most Homeowners Notice First
- Early Visual Signs From the Attic Hatch
- What Your HVAC Runtime Data Reveals
- Moisture Warning Signs in Slab-on-Grade Construction
- Reading the Pest-Activity Evidence Hierarchy
- Triage Table: Sign, Cause, and Next Step
- Common Mistakes to Avoid
- When to Call a Professional
- Frequently Asked Questions
The Late Symptoms: What Most Homeowners Notice First
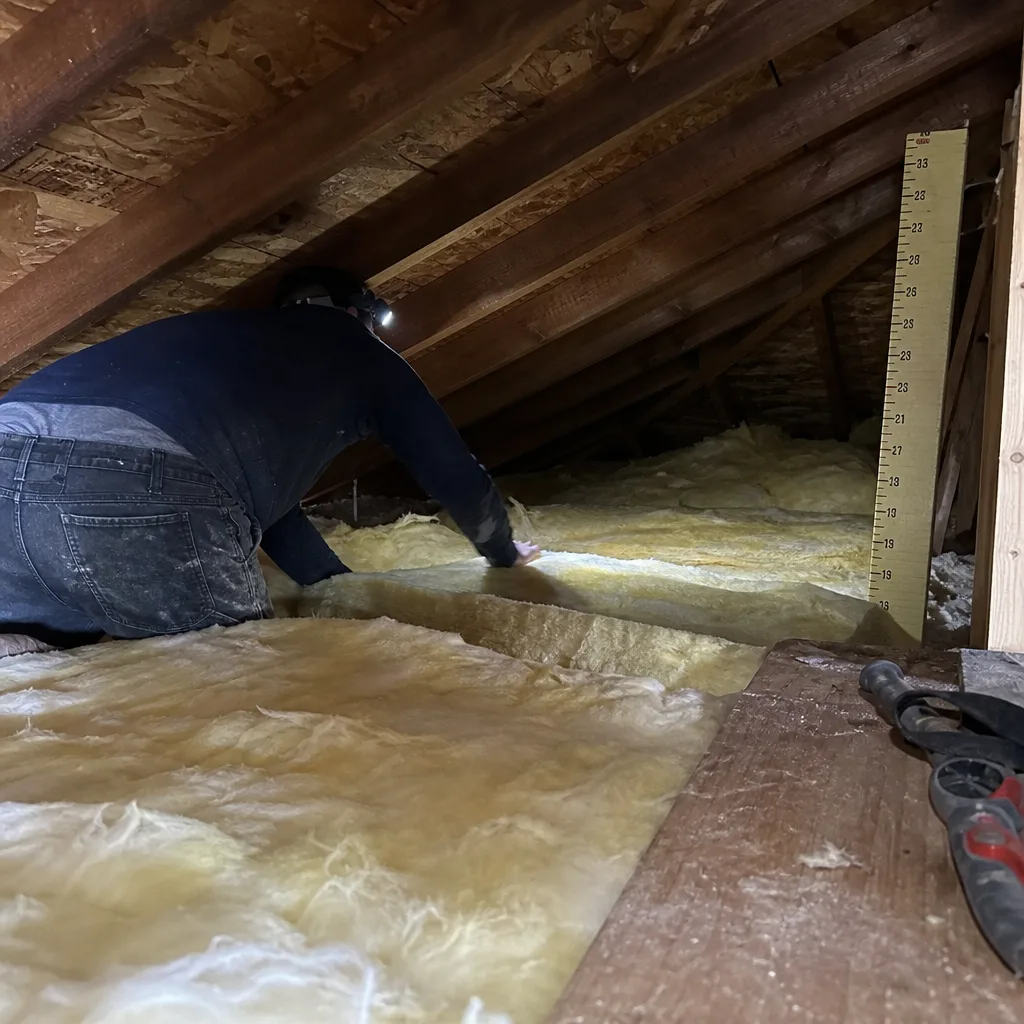
Most Cedar Park homeowners call us after one of three events: an August electric bill that clears $400, a bedroom that won’t cool below 78°F in July, or a contractor mentioning “your insulation looks thin” during unrelated work. These are trailing indicators. The insulation system has already been compromised for one to two full heating-cooling cycles.
Here’s how the timeline typically unfolds in homes built between 1985 and 2015, which make up much of Cedar Park’s housing stock:
- Month 1-6: Air leaks develop or worsen at top plates, can light penetrations, and duct boots. Conditioned air escapes; unconditioned attic air infiltrates. Insulation performance degrades but not visibly.
- Month 6-12: HVAC runtime extends. The system compensates for envelope losses. Energy use rises 8-15% before the homeowner perceives a change in comfort.
- Month 12-18: Insulation compresses or shifts from moisture cycling, air movement, or pest activity. Thermal performance drops measurably. Some rooms develop 4-6°F temperature differentials.
- Month 18-24: Utility bills spike. Comfort complaints become unavoidable. The homeowner notices.
The critical insight: months 1 through 12 are the intervention window. Repairs in this period typically involve air sealing and targeted insulation supplementation, $1,200-$2,800 in Cedar Park’s current market. Wait until month 24, and you’re often looking at full removal, remediation, and replacement, running $4,500-$8,500 for a typical 2,400-square-foot home.
We’ve documented this progression in over 9,000 homes since 2016. The pattern holds across neighborhoods from Ranch at Brushy Creek to Cypress Creek. The homes that cost less to fix are the ones where someone knew what to look for early.
Early Visual Signs From the Attic Hatch
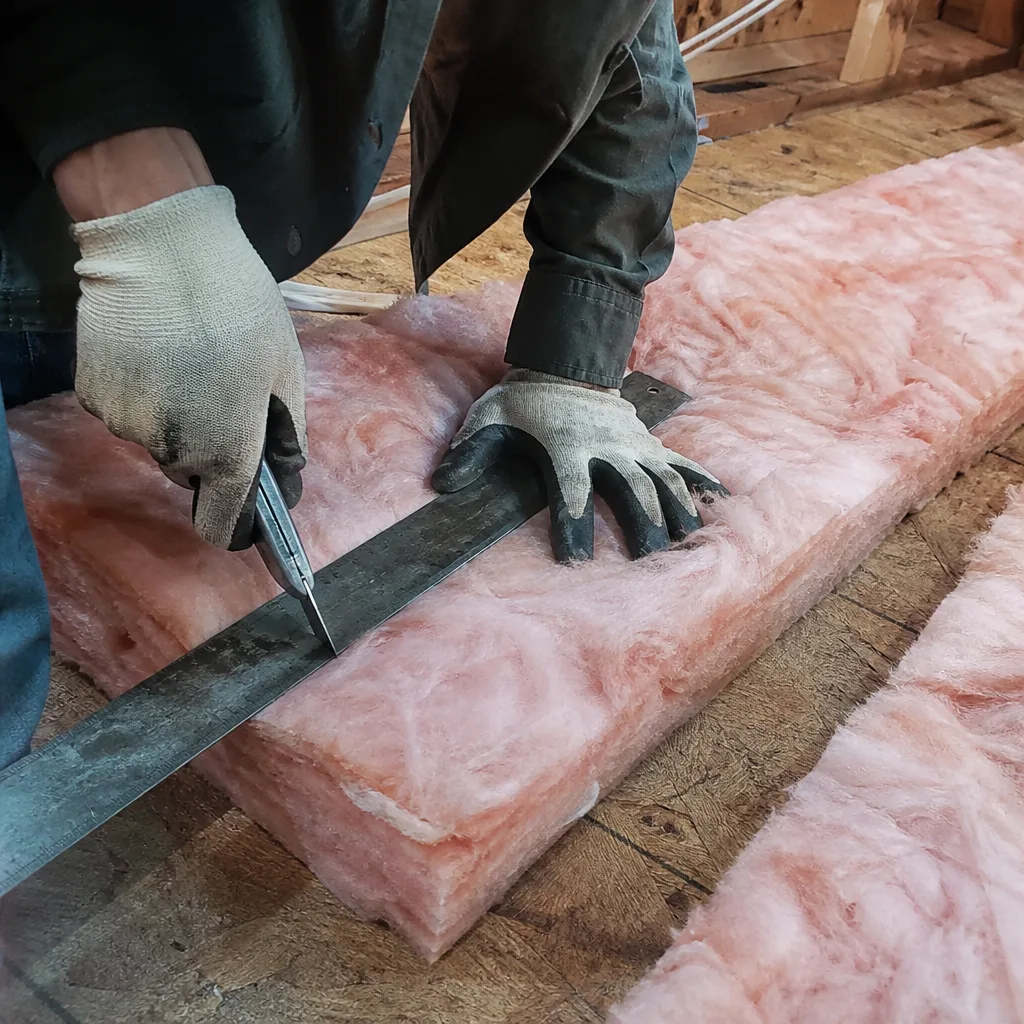
You don’t need to walk your entire attic to spot trouble. The signs visible from the hatch, or with a flashlight and a few steps on the decking, tell most of the story. We train our technicians to photograph these exact indicators during every Topside Attic Insulation Cedar Park home assessment, and you can learn to see them yourself.
Compressed Insulation at Eave Baffles
Look where the attic floor meets the sloped roof at the exterior walls. Eave baffles, the cardboard or foam channels that keep soffit vents open, should show insulation loosely filled around them, not packed tight. When insulation compresses here, it typically means one of three things: wind washing from excessive attic air movement, moisture cycling that has degraded the material’s loft, or installation that was never correct to begin with.
In Cedar Park, we see this most often in homes with original 1980s and 1990s fiberglass batts. The material settles over time, but more critically, air movement from poorly sealed soffits pulls it inward and packs it down. A batt rated R-30 that compresses to 4 inches performs closer to R-10. You can spot this from the hatch by looking for thin, hard-edged material where fluffy fill should exist.
“Dirty Sock” Staining on Batt Faces
Fiberglass batts that show gray or brown streaking, especially on the top surface facing the attic, are recording air filtration. The discoloration is dust and particulate carried by moving air, depositing where the batt acts as a filter. This is not surface dirt from age. It’s evidence that conditioned air is escaping through the ceiling plane, or unconditioned attic air is being drawn inward.
The staining pattern matters. Streaks aligned with ceiling joists point to top plate leaks. Circular stains around electrical boxes or can lights mark penetrations that were never sealed. Widespread, mottled discoloration suggests broader envelope failure, often combined with inadequate attic ventilation.
We show homeowners these patterns during our documented photo record on every visit. The images become part of your written scope, so you can compare before and after.
Frost Shadows on Sheathing
In winter, take a photo through your attic hatch on a morning below 35°F. The underside of your roof sheathing should show uniform frost if any, or uniform dryness. Patchy frost patterns, dark areas where frost has already sublimated, or ice crystal formations concentrated near ridges or vents all indicate warm, moist air reaching cold surfaces.
This is the signature of air leakage, not inadequate insulation alone. The warm air carries moisture; where it contacts sheathing below dew point, it condenses and freezes. In Cedar Park’s variable winters, where temperatures swing 40°F in a day, this freeze-thaw cycling degrades sheathing and compresses insulation from repeated wetting.
Photos from two or three winter mornings, compared year to year, reveal progression that a single inspection cannot. We recommend this to homeowners who suspect gradual decline.
Insulation Depth Inconsistency
Even without a ruler, your eye detects variation. Areas where insulation appears markedly thinner, or where different materials meet without transition, suggest prior work that was incomplete, water damage that was covered rather than remediated, or pest disturbance. In Cedar Park’s newer developments like Buttercup Creek and Shenandoah, we’ve found original builder-grade insulation that was never brought to full depth at attic edges, where it’s most needed.
What Your HVAC Runtime Data Reveals
Your thermostat records what your body only feels vaguely. Modern smart thermostats, and even many programmable units installed after 2015, log runtime data that functions as a continuous diagnostic. In our Attic Insulation in Cedar Park assessments, we ask homeowners to pull this data before we arrive. It often tells us more than a visual inspection alone.
The 16-18 Minute Benchmark
In mild weather, when outside temperatures sit between 65°F and 75°F, a properly sealed and insulated home in Cedar Park should require no more than 16-18 minutes of cooling runtime per hour to maintain 72-74°F indoors. This assumes reasonable thermostat programming and a correctly sized HVAC system.
Runtimes consistently exceeding this threshold indicate envelope failure, not equipment failure. The system is working longer to compensate for conditioned air lost to infiltration and thermal bridging. We’ve seen homes with 35-45 minutes of cooling runtime per hour in 70°F weather, where the homeowner had already received two HVAC replacement quotes. The equipment was fine. The envelope was leaking.
Short-Cycling in Extreme Heat
Paradoxically, some failing insulation systems produce short cycles, not long ones. When attic temperatures exceed 140°F and ductwork runs through unconditioned space, the air delivered to rooms warms before it arrives. The thermostat senses the temperature rise, calls for cooling, then quickly satisfies as the overworked system dumps a burst of marginally cool air. The room never reaches true comfort, but the runtime appears low.
This pattern, common in Cedar Park’s July and August, destroys equipment through frequent starts and masks envelope problems that a simple runtime average would miss. Look for: runtimes under 8 minutes, more than 4 cycles per hour, and rooms that feel humid despite “satisfying” the thermostat.
How to Access Your Data
- Check your thermostat’s app or web portal for “system runtime” or “energy history.” Nest, Ecobee, Honeywell Home, and Emerson Sensi all provide this.
- Export or screenshot data for three representative periods: a mild week (April or October), a hot week (July), and a cold week (January).
- Note the correlation between outdoor temperature and runtime. A well-sealed home shows a gentle slope; a leaky home shows a steep cliff.
- Compare year-over-year for the same weeks. Runtime increases of 15% or more, without equipment changes, indicate envelope degradation.
We use this data to set blower-door targets. A home showing 40 minutes of July runtime per hour typically tests at 3,500 CFM50 or higher before sealing. After proper air sealing and insulation, we expect to cut that by 30-50%, with runtime dropping proportionally. The before-and-after blower-door numbers, published on every applicable job, document what actually changed.
Moisture Warning Signs in Slab-on-Grade Construction
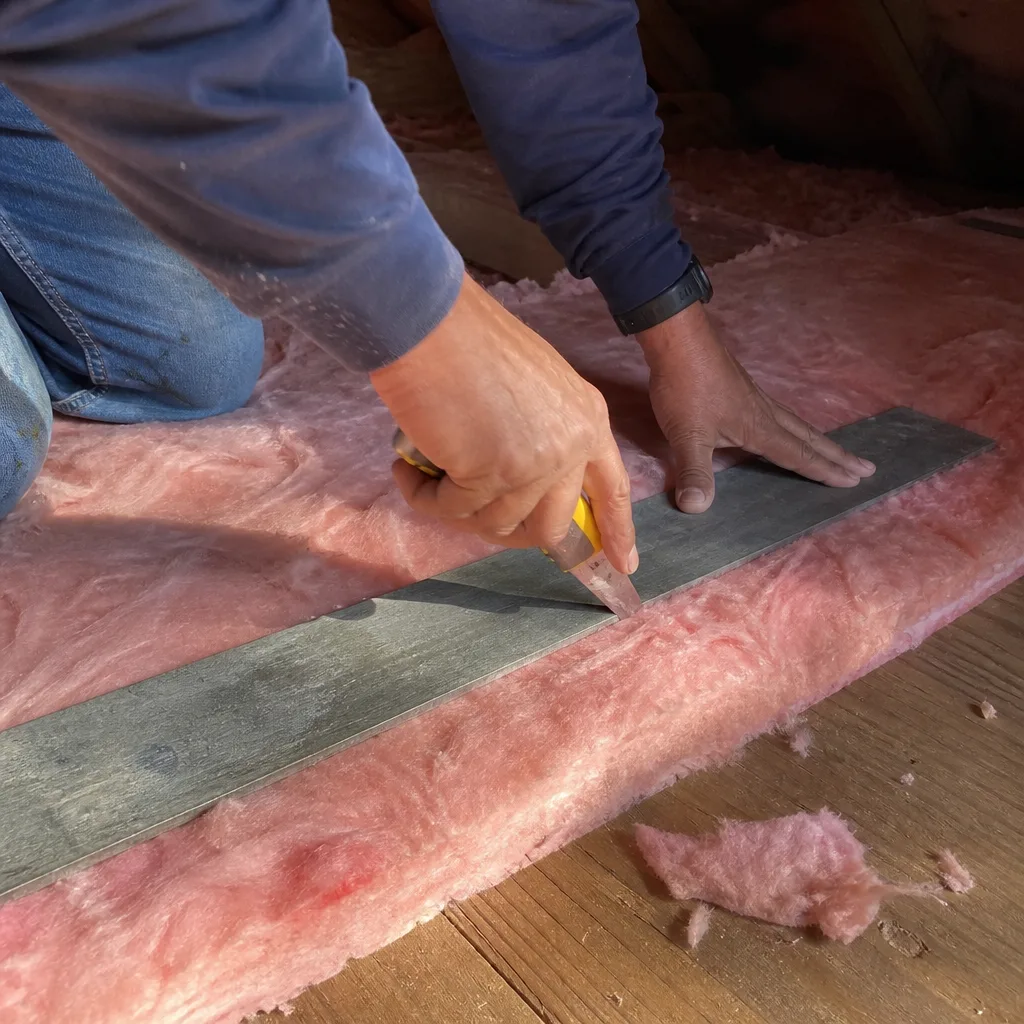
Cedar Park’s residential construction is overwhelmingly slab-on-grade. This foundation type creates specific moisture pathways that insulation failures exacerbate, and that insulation alone cannot fix. Understanding these signals prevents the common error of adding insulation to a wet envelope, which traps moisture and accelerates decay.
Efflorescence at Wall Base
The white, chalky deposits that appear at the base of exterior walls, especially after rain, are mineral salts carried by water moving through concrete or masonry. In slab construction, this indicates either bulk water intrusion at the slab edge, or vapor drive from soil moisture through an unsealed slab perimeter.
Insulation failures compound this problem. When wall cavities lack proper vapor management, or when rim joists are unsealed, the temperature differential between conditioned space and the slab edge creates a condensation surface. The efflorescence you see is the visible residue of a hidden moisture cycle that degrades framing, invites pests, and collapses insulation performance.
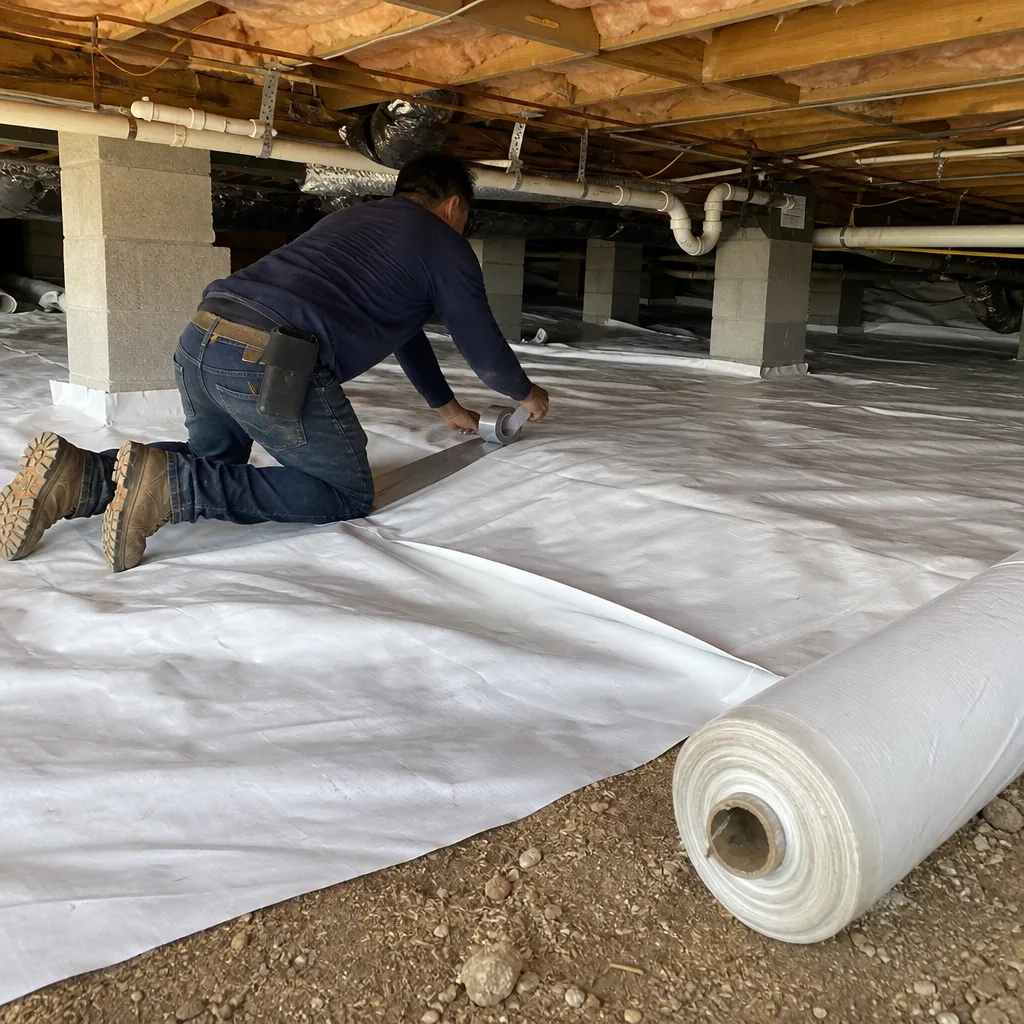
We address this in our Crawl Space Encapsulation & Vapor Barrier in Cedar Park work, but even homes without true crawl spaces have slab perimeters that need sealing. The material choice matters: closed-cell spray foam at rim joists, properly detailed, blocks both air and vapor. Open-cell foam or fiberglass in this location often makes the problem worse.
Living-Space Humidity Above 60% RH
In mild weather, when your HVAC runs minimally, indoor relative humidity should track outdoor conditions with moderate damping. Persistent readings above 60% RH during April, May, October, or November point to envelope failure.
The mechanism: unsealed attics and walls allow humid outdoor air to infiltrate faster than the HVAC can dehumidify. In summer, the same leaks bring in superheated air that the system overcools, leaving humidity untouched. In either case, the homeowner feels “cold and clammy” or “hot and sticky” at thermostat settings that should be comfortable.
We measure this during home energy audits with calibrated hygrometers placed in multiple rooms. A 12% RH differential between the living room and a back bedroom indicates duct leakage, insulation void, or both. The fix is never a bigger dehumidifier. It’s sealing the envelope so the humidity source stops.
Musty Odors That Persist After Rain
Odor is the most subjective indicator, but also the most persistent. Mustiness that returns within 24 hours of rain, especially in closets on exterior walls or rooms with minimal HVAC airflow, suggests mold growth in wall cavities or on attic sheathing. The insulation in these locations is typically wet or has been wet, and its thermal performance is destroyed even if it appears dry now.
We do not recommend homeowner investigation of suspected mold. We do recommend documenting when and where odors occur, and requesting a professional assessment that includes moisture mapping and, if indicated, air sampling. Under Haven Standard: Have it in writing, this documentation becomes part of your written scope before any work starts.
Reading the Pest-Activity Evidence Hierarchy
Pests don’t just damage insulation. They indicate conditions that predate their arrival: air leaks that provide entry, moisture that supports habitat, and material degradation that creates nesting opportunity. Learning to read the evidence hierarchy tells you whether you’re looking at a recent incursion or a long-established colony, and what remediation scope that implies.
Level 1: Droppings
Isolated droppings, especially near attic hatch edges or in insulation directly below roof penetrations, suggest occasional entry. The pest is using your attic as a transit route, not a residence. Remediation scope: seal identified entry points, replace contaminated insulation in immediate area, inspect for and seal air leaks that enabled access.
Droppings concentrated in a defined area, with staining on adjacent materials, indicate regular use. The insulation in this zone is compromised by compression, urine, and the oils rodents deposit for scent marking. Remediation scope: remove and replace affected insulation, seal entry points, sanitize surfaces, extend air sealing to prevent re-entry.
Level 2: Nesting Material
Shredded insulation, paper, or plant material gathered into defined nests signals established residence. The pest has found conditions suitable for reproduction: adequate temperature, minimal disturbance, and often a moisture source. Nests in insulation mean the material has been actively displaced and compressed, creating thermal voids.
In Cedar Park, we see this most with roof rats in mature neighborhoods with mature tree canopy, and with squirrels in homes near greenbelts. The nesting material itself becomes a fire hazard when located near recessed can lights or electrical junctions. Remediation scope: full removal of affected insulation, sanitation, entry sealing, and replacement with new material after verification that no moisture source remains.
Level 3: Active Tunneling
Tunnels visible through insulation, with compacted pathways and fresh disturbance, indicate current, active infestation. The insulation system is not merely compromised; it’s being actively destroyed. Tunneling often follows air leaks, as pests use the same pressure differentials that drive energy loss.
This level requires integrated pest management collaboration before insulation work proceeds. We will not install new insulation over active infestation. The Haven Standard requires documented resolution of the underlying condition. Remediation scope: pest control intervention, full insulation removal, structural repair if needed, comprehensive air sealing, and replacement with new material, typically Owens Corning or Johns Manville products specified for the application.
Our attic cleaning and rodent proofing service addresses this sequence, with photo documentation at each stage. You receive the images, not just our description of what was found.
Triage Table: Sign, Cause, and Next Step
This table organizes what we’ve covered into a decision framework. Use it to assess what you’ve observed and determine whether you can evaluate further yourself, or whether a professional assessment is the appropriate next step.
| Warning Sign | Probable Cause | DIY-Assessable? | Typical Remediation Scope |
|---|---|---|---|
| Compressed insulation at eave baffles | Wind washing, moisture degradation, or original under-installation | Yes, from attic hatch with flashlight | Air sealing at soffits, insulation supplementation or replacement at edges |
| “Dirty sock” staining on batt faces | Air filtration through ceiling plane, indicating top plate or penetration leaks | Yes, visible from hatch or limited attic entry | Targeted air sealing at identified leak points, insulation replacement if heavily stained |
| Frost shadows on sheathing in winter | Warm, moist air reaching cold roof deck; active air leakage | Yes, photos from hatch on cold mornings | Comprehensive attic air sealing, ventilation assessment, insulation replacement if moisture-damaged |
| HVAC runtime >18 min/hr in mild weather | Envelope air leakage exceeding equipment capacity | Yes, via thermostat data export | Blower-door guided air sealing, insulation supplementation or full replacement |
| Short-cycling in extreme heat with humidity complaints | Duct leakage in unconditioned attic, or inadequate insulation on ductwork | Partially, runtime data helps; duct inspection requires professional | Duct sealing, duct insulation, attic air sealing, and insulation upgrade |
| Efflorescence at slab-base walls | Slab edge moisture intrusion combined with wall cavity vapor drive | Yes, visible inspection; cause requires professional diagnosis | Slab perimeter sealing, rim joist insulation with vapor-impermeable material, wall cavity assessment |
| Living-space humidity >60% RH in mild weather | Uncontrolled air infiltration overwhelming HVAC dehumidification | Yes, with calibrated hygrometer or smart home sensor | Whole-house air sealing, insulation upgrade, possible HVAC capacity verification |
| Musty odors persisting after rain | Active moisture in wall cavities or attic, likely with mold growth | Location mapping only; cause requires professional | Moisture mapping, mold remediation if confirmed, structural repair, insulation replacement |
| Isolated pest droppings | Occasional entry via unsealed penetration | Yes, with attic hatch inspection | Entry point sealing, localized insulation replacement, air sealing extension |
| Nesting material in insulation | Established pest residence with active reproduction | Visible, but extent requires professional | Integrated pest management, full affected insulation removal, sanitation, replacement |
| Active tunneling through insulation | Current, destructive infestation with colony establishment | No, requires professional assessment and pest control coordination | Full removal, structural repair, comprehensive air sealing, complete replacement |
Our Spray Foam Insulation in Cedar Park service addresses many of these conditions with closed-cell material that seals and insulates simultaneously, particularly effective at rim joists and complex geometries where batts fail.
Common Mistakes to Avoid
- Adding insulation over unsealed air leaks. This is the most common error we correct in Cedar Park. Blown fiberglass or cellulose over a leaky attic floor acts as a filter, not a barrier. The air still moves; the insulation just gets dirty and compressed. We never install insulation before completing air sealing of top plates, can lights, and penetrations. Sealed first, then insulated, in that order.
- Assuming R-value alone solves comfort problems. A batt labeled R-38 performs at R-38 only when installed to full, uncompressed thickness in a sealed cavity. In practice, gaps around electrical boxes, compression under decking, and wind washing at eaves reduce effective performance by 30-50%. We specify installed performance, not labeled R-value, and verify with blower-door testing.
- Ignoring the slab perimeter in “crawl space” work. Cedar Park’s slab-on-grade homes don’t have crawl spaces, but they do have rim joists, sill plates, and slab edges that behave similarly. Sealing these requires different materials and details than true crawl space encapsulation. We’ve found contractors applying crawl space methods to slab construction, with predictably poor results.
- Treating pest evidence as purely a pest problem. Droppings mean entry; entry means air leaks. Killing or removing pests without sealing the envelope invites re-infestation and leaves the energy problem untouched. Our approach coordinates remediation so the conditions that enabled pests are eliminated.
- Using humidity readings from a single location. A thermostat-mounted sensor in a central hallway misses bedroom microclimates, closet corners, and rooms with western exposure. We measure at minimum four locations, and we measure at the slab base where moisture problems start. Single-point data leads to single-point solutions that fail.
- Delaying assessment until bills force action. By the time utility costs rise visibly, the insulation system has typically suffered 18-24 months of degradation. Early intervention costs less, preserves structural materials, and avoids the compound damage of moisture, pest activity, and mold. The free second opinion we offer on any written estimate exists precisely to catch these problems before they escalate.
When to Call a Professional
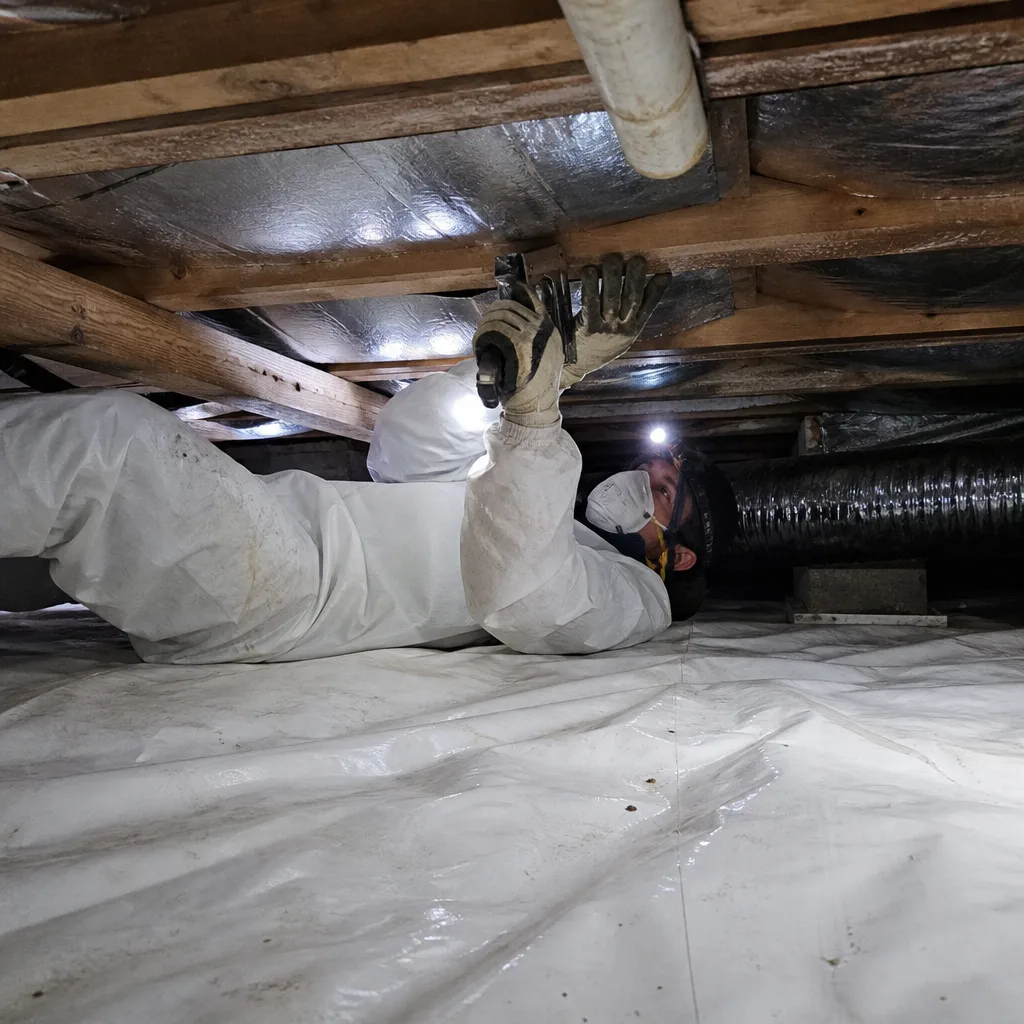
Call for assessment when you’ve identified any Level 2 or 3 pest evidence, when moisture signs include efflorescence or persistent mustiness, when your HVAC runtime data shows unexplained increases year-over-year, or when you’re considering any insulation work following a written estimate from another contractor. We provide free second opinions on any written estimate; bring us the scope, and we’ll review it with you against what our blower-door testing and thermal imaging actually find.
Topside Attic Insulation Cedar Park offers free estimates in Cedar Park. Every assessment includes a written scope, a written price before any work starts, and a Documented Photo Record of conditions found. On jobs where air sealing is performed, we publish before-and-after blower-door numbers so you can verify the result. For more guides & resources, visit our blog, or call (737) 245-6428 to schedule. A live person answers, 24/7.
Frequently Asked Questions
Most full attic insulation replacements in Cedar Park run between $4,200 and $7,800 for a 2,000-2,800 square foot home, depending on material choice, accessibility, and whether removal of existing material is required. Supplemental air sealing, which we perform first on every job, typically adds $1,200-$2,400. We provide a written price before any work starts, always, with no obligation. Call (737) 245-6428 for an exact quote on your home.
You can, but you shouldn’t if the existing material is compressed, moisture-stained, or pest-contaminated. Adding new insulation over damaged old insulation traps problems and often violates manufacturer warranty terms. We assess existing conditions first, remove what’s compromised, seal air leaks, then install new material to specified depth. The result is documented with photos and blower-door numbers.
Check your runtime data first. In mild weather, more than 18 minutes of cooling per hour points to envelope failure, not equipment failure. If runtime is normal but bills are high, the problem may be HVAC efficiency or utility rate changes. We use blower-door testing to separate these causes definitively. A reading above 3,000 CFM50 in a home your size confirms significant envelope leakage.
For attics, loose-fill fiberglass or cellulose at R-38 to R-60 depth, installed after air sealing, provides cost-effective performance in our hot-humid summers and variable winters. For rim joists and complex geometries, closed-cell spray foam at 2-3 inches seals and insulates simultaneously. We source from Owens Corning, Johns Manville, Knauf, and other manufacturers, specifying material to the application rather than pushing proprietary products.
Properly installed, dry, and undisturbed fiberglass or cellulose insulation can perform for 20-30 years. In practice, we find Cedar Park insulation compromised within 10-15 years due to air leakage, moisture cycling, and pest activity that were never addressed. The insulation doesn’t “wear out” chemically; it’s destroyed physically by conditions that proper air sealing prevents.
Our audit includes blower-door testing to quantify air leakage, thermal imaging to locate insulation voids and air paths, moisture mapping with calibrated meters, HVAC runtime review if you provide data, and a written scope with prioritized recommendations and fixed pricing. You receive the photo record, the test results, and the written price before any work is proposed. The 365-Day Done Right Promise applies to all completed work.
The Bottom Line
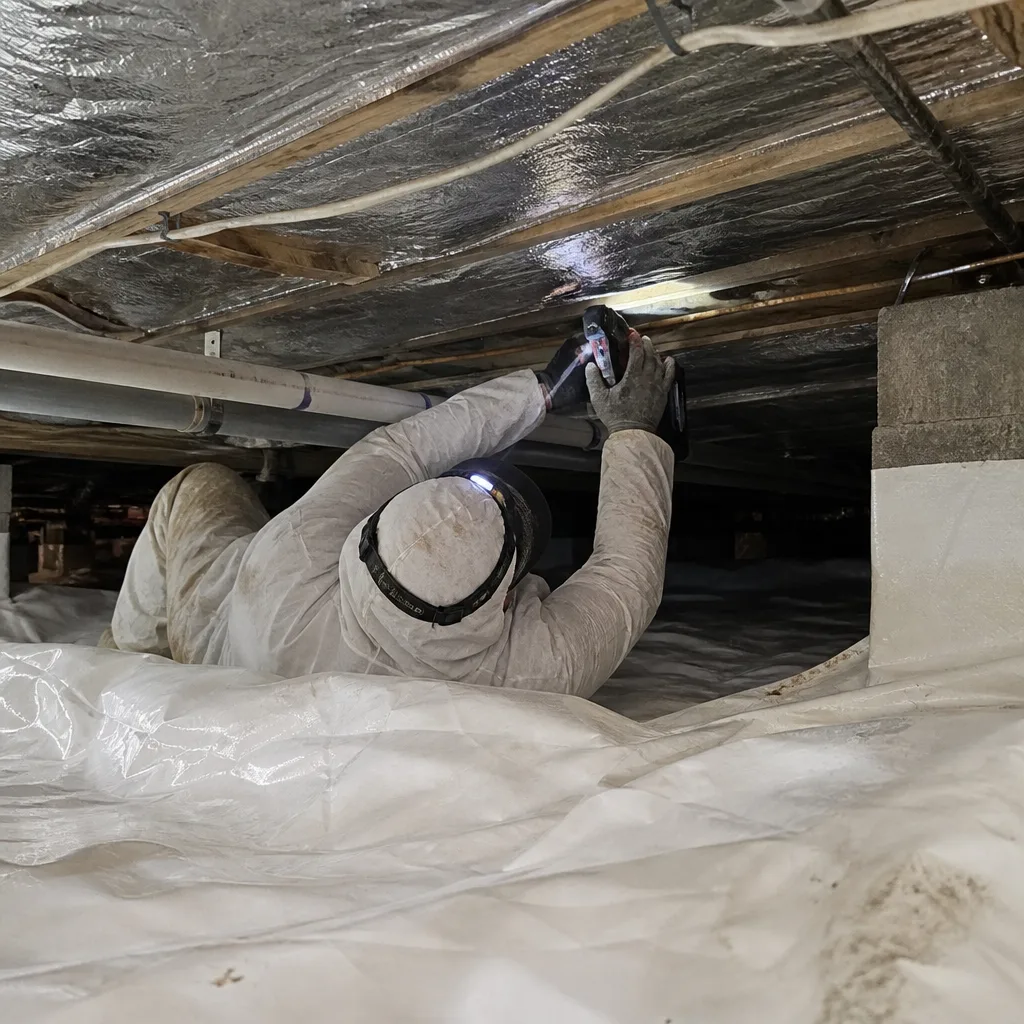
The warning signs that matter most in Cedar Park homes are the ones that precede your utility bill spike by a year or more. Compressed insulation at eave baffles, dirty-sock staining on batt faces, frost shadows on winter sheathing, HVAC runtime creeping past 18 minutes per hour, efflorescence at slab-base walls, and the early stages of pest evidence all signal envelope failure while it’s still cost-effective to correct. The triage framework in this guide lets you assess what you’ve observed and determine your next step. When you’re ready for documented verification, we provide blower-door testing, thermal imaging, and written pricing before any work starts. The homeowners who spend least on insulation over time are the ones who learned to read these signs early.
Written by Wes Okafor, Owner at Topside Attic Insulation Cedar Park, serving Cedar Park since 2016.